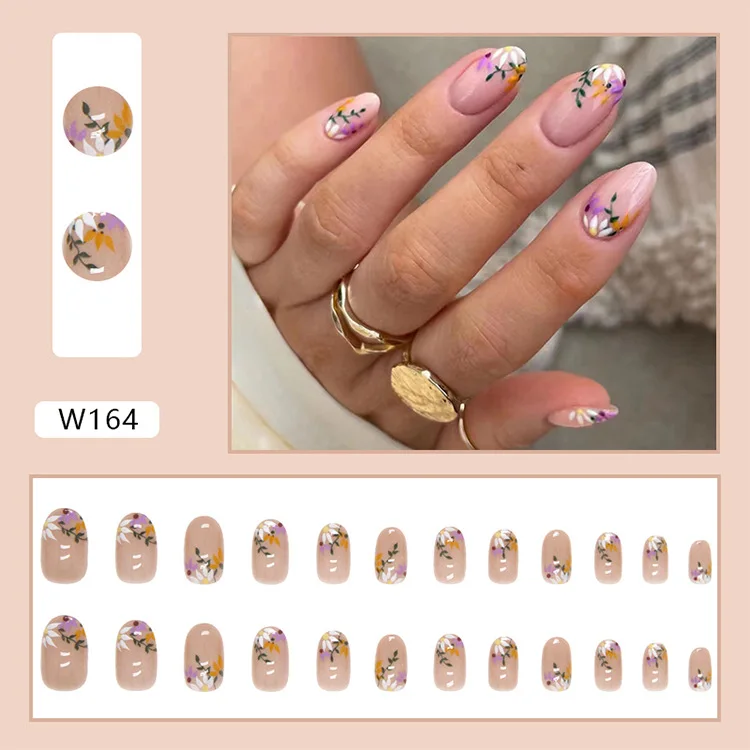
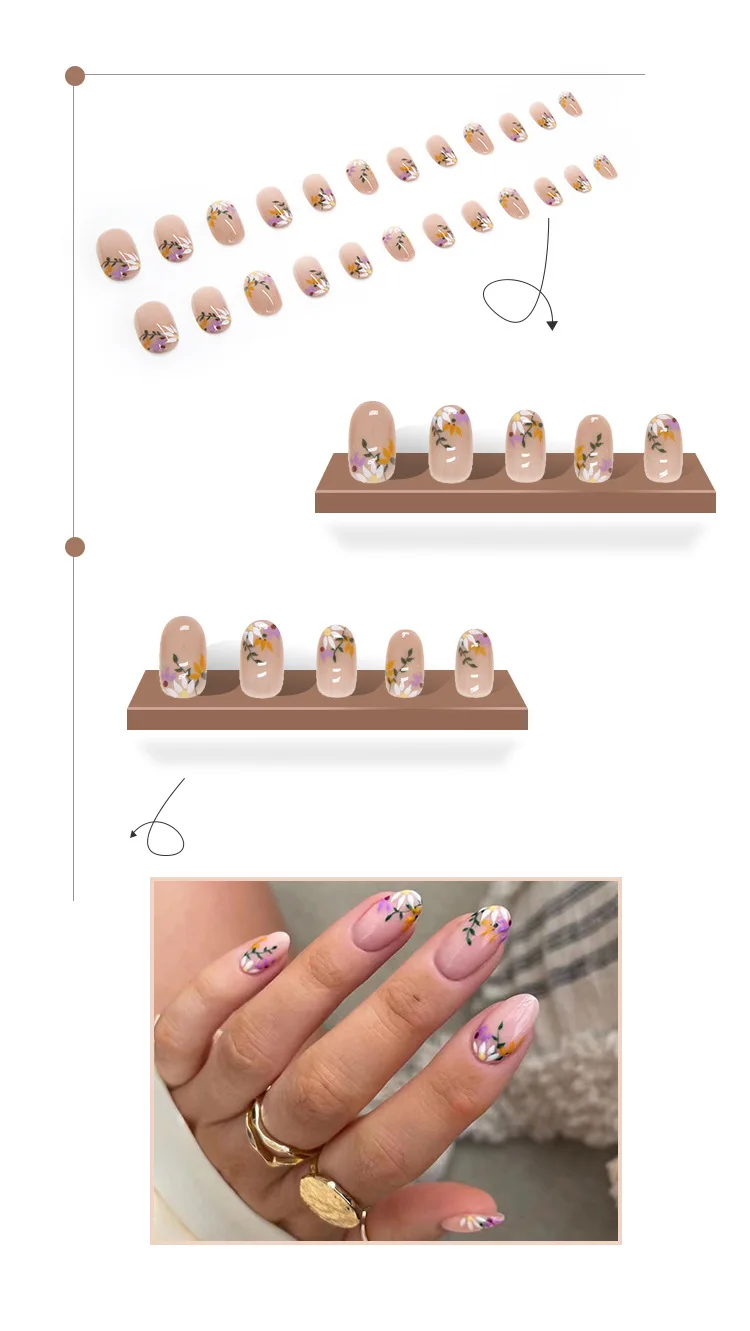
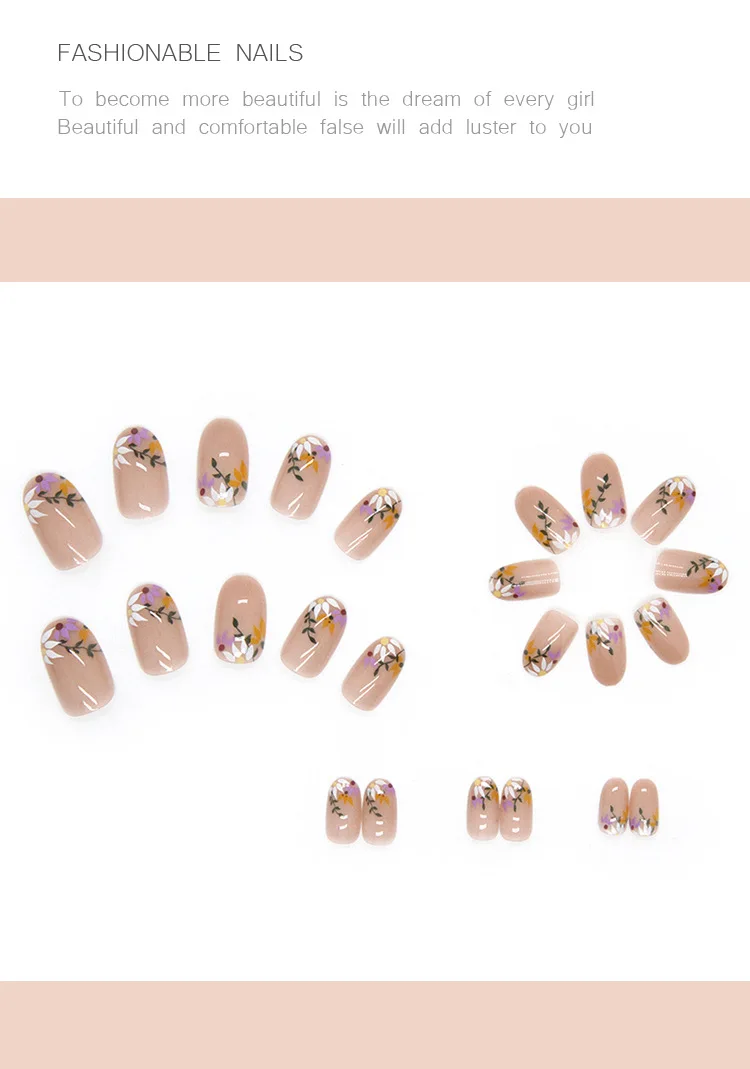
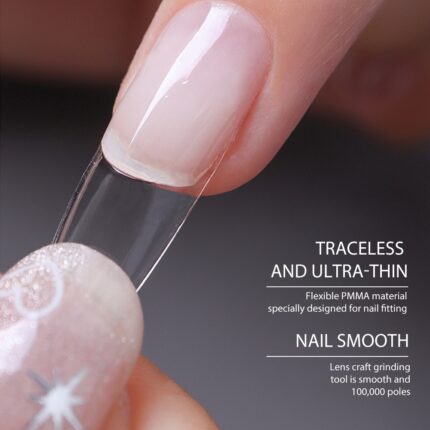
Unlocking the Secret to Effortless Nail Elegance:
Elevating your nail game has never been easier, and we’re here to guide you through the simple yet satisfying process of achieving stunning nails with our product. Let’s break it down step by step:
Step 1: Nail Preparation
Before you embark on your nail transformation journey, it’s essential to create the perfect canvas. Start by filing the surface of your natural nails to ensure they are smooth and clean. This step not only sets the stage for a flawless application but also helps the false nails adhere better.
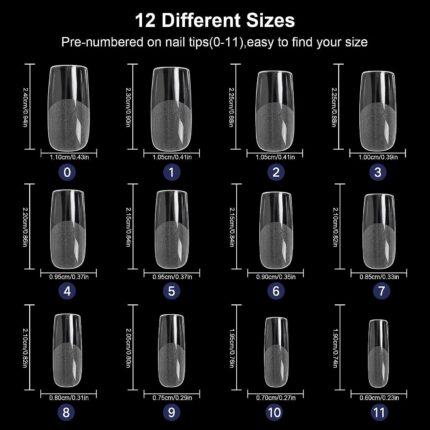
Step 2: Select Your Size
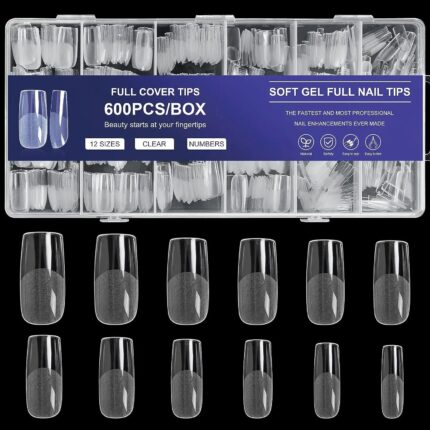
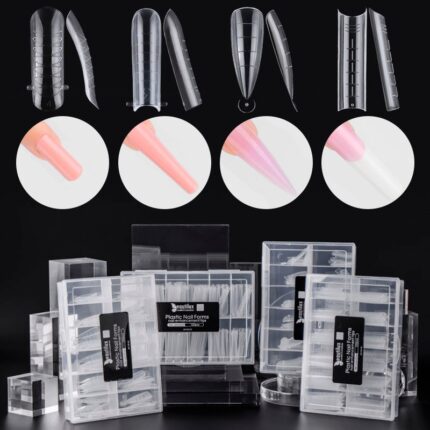
Our product offers an array of false nails in various sizes, ensuring you find the perfect fit for your nails. Carefully choose the size that matches each of your natural nails.
Step 3: Application of Adhesive
Now, it’s time to get creative. Apply your favorite nail glue to the chosen false nail. You can use the brush that comes with the adhesive or your preferred method for precision.
Step 4: The Perfect Placement
Position the false nail at a 45-degree angle to your natural nail. Gently press it down and hold it in place for up to 5 seconds. This step is where the magic happens, as the glue bonds the false nail securely to your natural nail.
Step 5: A Work of Art
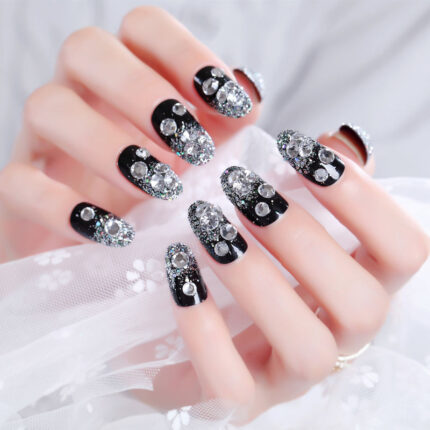
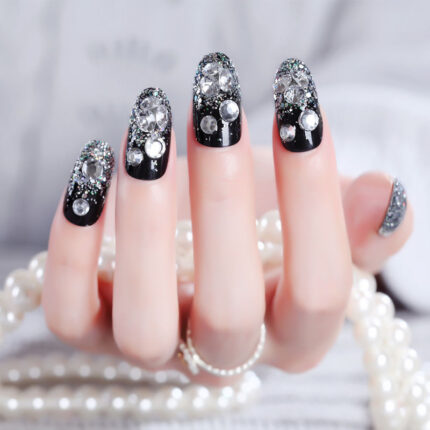
You’ve accomplished it! In just a few straightforward steps, you’ve transformed your nails from ordinary to extraordinary. Now, you can proudly flaunt your professionally applied nails, and the best part is, you did it all yourself.
With this straightforward process, you can enjoy salon-quality nails in the comfort of your own home. Whether you’re preparing for a special occasion or just looking to enhance your everyday style, our product simplifies the process, leaving you with stunning, long-lasting nails. Say goodbye to the hassles of lengthy salon appointments and hello to the convenience of DIY nail art at its finest.
SPECIFICATIONS:
- Number of Pieces: One Unit
- Application: Finger
- Material: Resin
- Item Type: False Nail
